Preparing a View
Before you get started with MetaMiner Tableau Edition, make sure your Tableau views are ready.
MetaMiner Tableau Edition can handle thousands of Tableau views with a single command.
Once you have prepared your sample data source, you are ready to set up your worksheets and views (rendered worksheets).
Creating a Worksheet
Let us think you need a view that displays how many recordings from our previous example have been sold by each artist.
Make sure your data source is opened in Tableau Desktop or the Web UI. Look at the bottom of its window. You will see a toolbar with available commands:
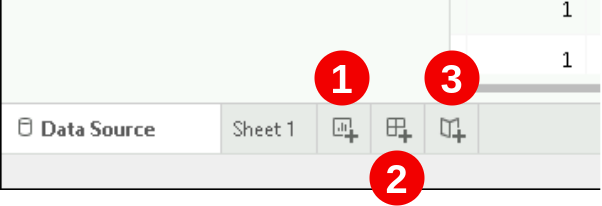
There are three of them, since there are three subtypes of sheets in Tableau:
 Create a new Worksheet
 Create a new Dashboard
 Create a new Story
For this example, create a new worksheet.
A blank worksheet page opens:
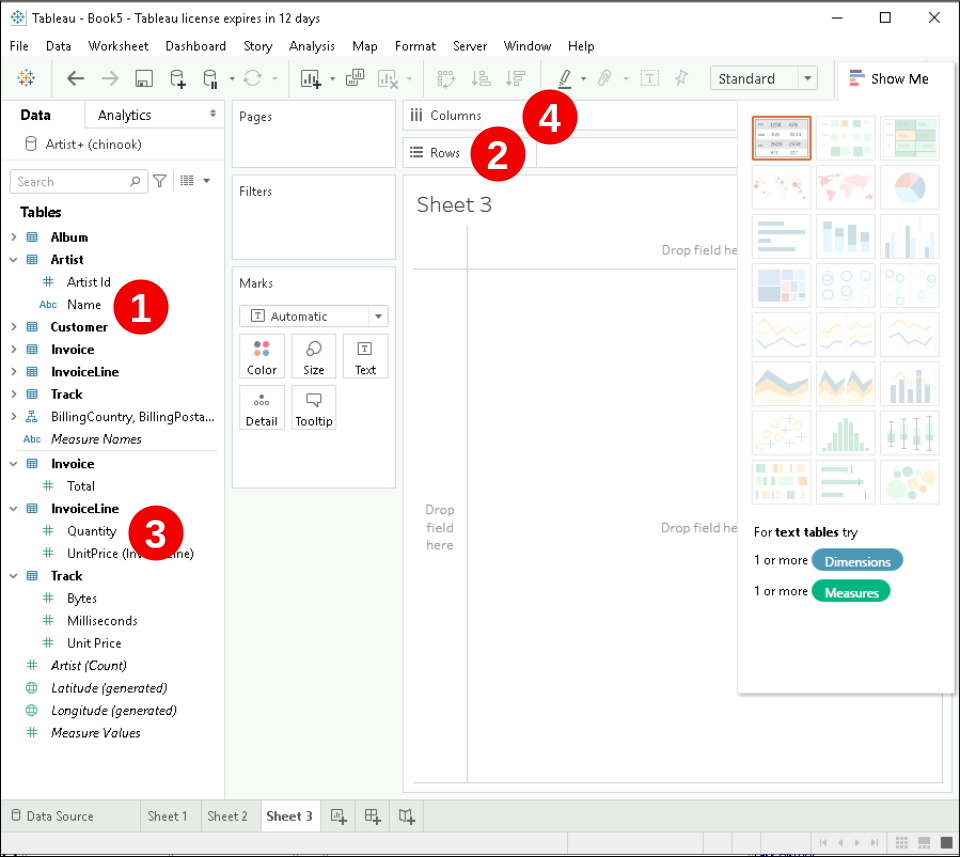
Drag Artist – Name
and drop to Pages – Rows
Drag InvoiceLine – Quantity measure
 and drop to Pages – Columns
Publishing a Workbook
Up to this point, your workbook & worksheet were only available on your local system.
To make them available to others, you need to publish them on your Tableau. To do this, follow these steps:
-
Choose Server – Publish Workbook... from the main menu:
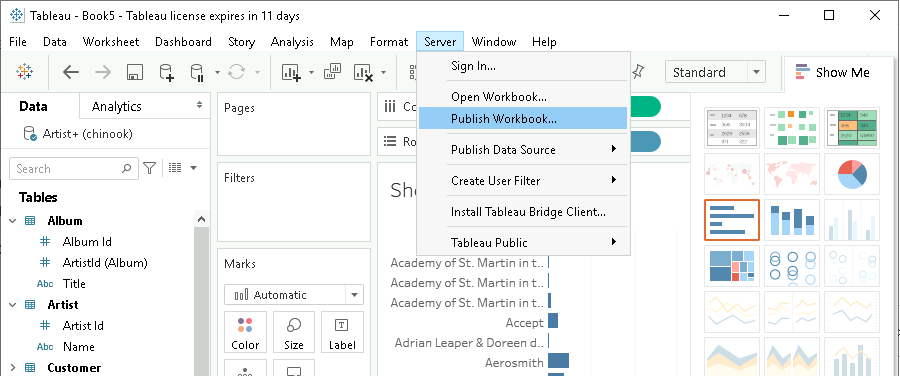
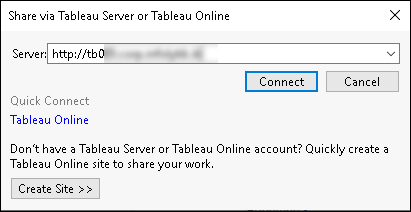
The Share via Tableau Server or Tableau Online dialog opens:
-
Specify the URL for your Tableau Server in the format
protocol://hostname, e. g.https://tableau.mycompany.com. -
Click Connect. Tableau Desktop will try to connect to Tableau Server. You may need to provide your authentication credentials.
-
If the connection is successful, the Publish Workbook to Tableau Server form will appear:
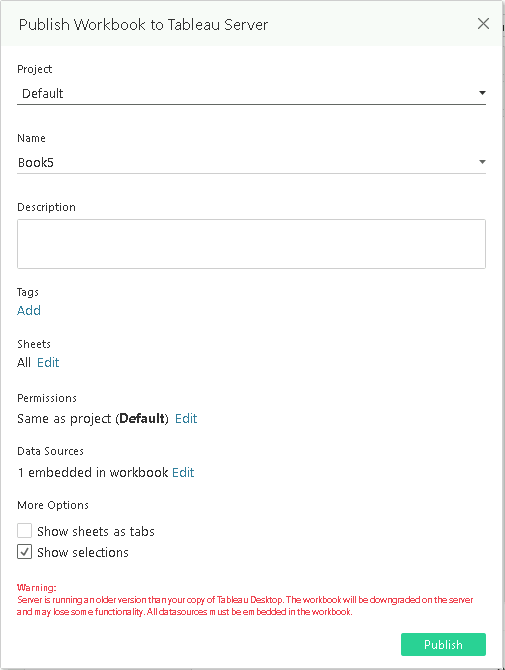
Otherwise, an error message will appear.
Warning
You may notice a red warning that your local Tableau Desktop and Tableau Server versions are differrent (see screenshot above). In this case, Tableau may need to convert your data and it may look different in your environment. We recommended using exactly the same versions for Tableau Desktop and Server.
-
Please fill in all required fields.
-
Click Publish.
Tableau Desktop will add your workbook and its sheets/views to your Tableau environment. This may take some time.
-
Finally, Tableau will open the resulting changes made in your environment in your default browser:
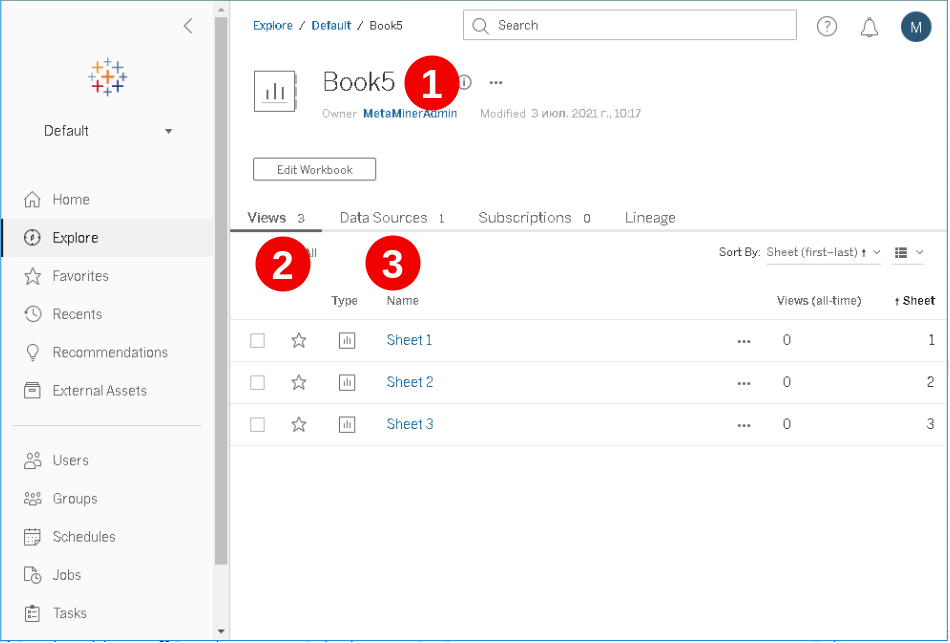 Your workbook title Tab with your views Tab with your data sources
As you can see, your worksheets have become rendered (published) views.
Tip
Please refer to the Official Tableau documentation for more information.